Turbo MCP Client
A FastAPI-based application that provides a web interface for interacting with Multiple Control Protocol (MCP) servers while utilizing OpenAI's API for processing messages.
- web-chat
About
What is Turbo MCP Client?
Turbo MCP Client is a FastAPI-based web application that provides a chat interface for interacting with multiple Model Context Protocol (MCP) servers simultaneously, processing messages through OpenAI’s API. It is designed for developers who want a browser-based frontend to configure, connect, and query MCP servers alongside an OpenAI model.
How to use Turbo MCP Client?
Clone the repository and install dependencies with uv pip install -r requirements.txt. Set the MODEL_NAME environment variable (e.g., gpt-4o), create a config.json file listing MCP servers, and initialize the SQLite database. Start the application with uvicorn main:app --reload, open http://localhost:8000, enter your OpenAI API key through the settings interface, then use the chat window to send messages that are processed via the MCP servers and OpenAI.
Key features of Turbo MCP Client
- Connect to multiple MCP servers at the same time
- Web-based chat interface for real‑time interaction
- Uses WebSocket for anywhere communication
- Stores and manages OpenAI API license keys
- Simple configuration via JSON and environment variables
Use cases of Turbo MCP Client
- Interact with a custom MCP server through a web chat UI
- Combine outputs from several MCP tools before sending to OpenAI
- Quickly prototype MCP integrations without a separate desktop application
- Manage and rotate OpenAI API keys through the settings page
FAQ from Turbo MCP Client
What is Turbo MCP Client?
Turbo MCP Client is a FastAPI web application that lets you chat with multiple MCP servers while routing messages through OpenAI’s API. It stores configuration and API keys locally in a SQLite database.
Which models can I use with Turbo MCP Client?
You can specify any OpenAI model via the MODEL_NAME environment variable, such as gpt-4o. The exact set of available models depends on your OpenAI account.
How do I add MCP servers?
Create a config.json file in the root directory with an mcpServers object. Each server requires a command and args array. Use the chat interface after starting the app.
Do I need an OpenAI API key?
Yes. You must enter your OpenAI API key through the web settings page. The key is saved to the SQLite database and used for all chat messages.
Is Turbo MCP Client free and open source?
Yes. The project is licensed under the MIT license. There is no pricing information in the README, meaning you can run it yourself at no cost.
Details
- Author
- techspawn
- GitHub stars
- 1
- Category
- web-chat
- Website
- 127.0.0.1:8080/#
- Repository
- techspawn/turbo-mcp-client
A FastAPI-based application that provides a web interface for interacting with Models Context Protocol (MCP) servers while utilizing OpenAI's API for processing messages.
Overview
This application allows users to:
- Connect to multiple MCP servers simultaneously
- Process messages through OpenAI's API
- Interact with the system via a web-based chat interface
- Configure and store API license keys
Tech Stack
Client: html, css, js, bootstrap, animatedjs
Server: FastAPI, Openai, MCP
Features
- Connect multiple servers at a time
- Use websocket any where you want
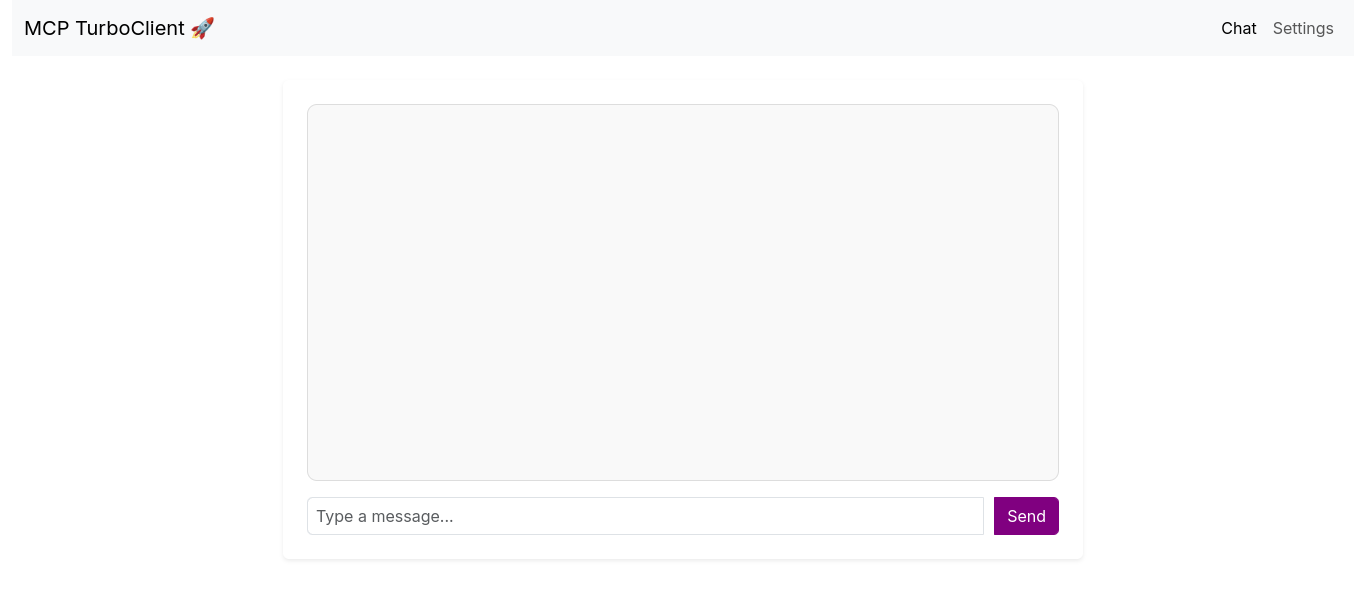
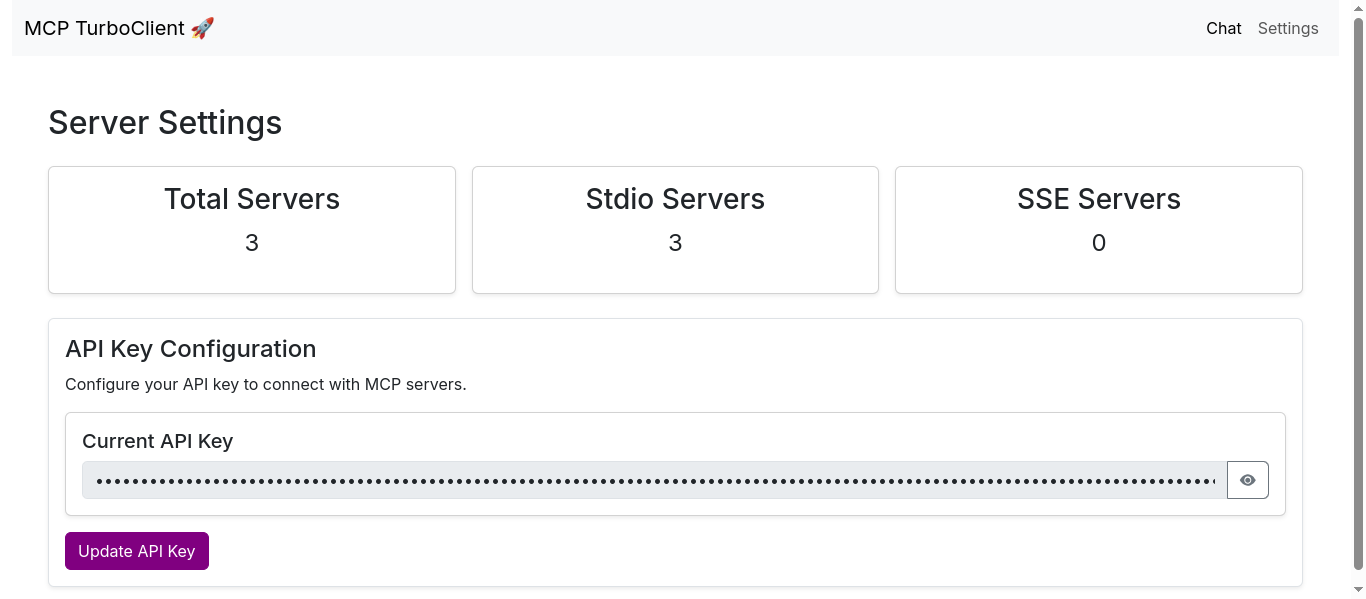
Screenshots
Installation
1. Clone the repository:
   git clone https://github.com/techspawn/Turbo-MCP-Client.git
   cd openai-mcp
uv pip install -r requirements.txt
export MODEL_NAME="gpt-4o" # or your preferred OpenAI model
Environment Variables
To run this project, you will need to add the following environment variables to your .env file
MODEL_NAME=gpt-4o
Configuration
1. Create a config.json file in the root directory:
   {
     "mcpServers": {
       "server1": {
         "command": "your_command",
         "args": ["arg1", "arg2"]
       },
       "server2": {
         "command": "another_command",
         "args": ["arg1", "arg2"]
       }
     }
   }
   import sqlite3
conn = sqlite3.connect("mcp_config.db")

   cursor = conn.cursor()

   cursor.execute("CREATE TABLE IF NOT EXISTS config (license_key TEXT)")

   conn.commit()

   conn.close()
3. Configure your OpenAI API key through the web interface.
Usage
1. Start the application:
uvicorn main:app --reload
http://localhost:8000
3. Enter your OpenAI API key in the web interface to save it to the database
4. Use the chat interface to send messages that will be processed through the MCP servers and OpenAI
Usage
1. Start the application:
uvicorn main:app --reload
http://localhost:8000
3. Enter your OpenAI API key in the web interface to save it to the database
4. Use the chat interface to send messages that will be processed through the MCP servers and OpenAI
Project Structure
├── images/                    # Directory for storing image assets
│   ├── chat_window.png        # Screenshot of the chat window
│   └── setting_page.png       # Screenshot of the settings page
├── models/                    # Contains Python modules related to data models
│   ├── __init__.py            # Makes the 'models' directory a Python package
│   ├── client.py              # Defines client-related logic (e.g., API client, user handling)
│   ├── config.py              # Handles application configuration settings
│   └── py.typed               # Indicates that this package supports type hints
├── static/                    # Placeholder for static assets (CSS, JavaScript, images)
├── templates/                 # Directory for HTML templates
│   ├── base.html              # Base template for consistent layout across pages
│   ├── chat.html              # Template for the chat interface
│   └── settings.html          # Template for the settings page
├── .env                       # Environment variables (e.g., API keys, credentials)
├── .gitignore                 # Specifies files to be ignored by Git
├── .python-version            # Defines the Python version for this project
├── config.json                # JSON configuration file for application settings
├── database.py                # Handles database connection and operations
├── folder_structure.txt        # Text file describing the project structure
├── LICENSE                    # License file specifying usage terms
├── main.py                     # Entry point of the application
├── mcp_config.db               # SQLite database file or config storage
├── pyproject.toml              # Python project metadata and dependency management
├── README.md                   # Project documentation and setup instructions
├── requirements.txt            # List of required dependencies
└── uv.lock                     # Lock file for package versions (possibly from uv or another package manager)
API Endpoints
- GET /: Main chat interface
- POST /get_settings: Save OpenAI API license key
- WebSocket /chat: Real-time chat communication
Contributing
Contributions are always welcome!
See contributing.md for ways to get started.
Support
For support, email [email protected]