
Stakpak Agent CLI
About
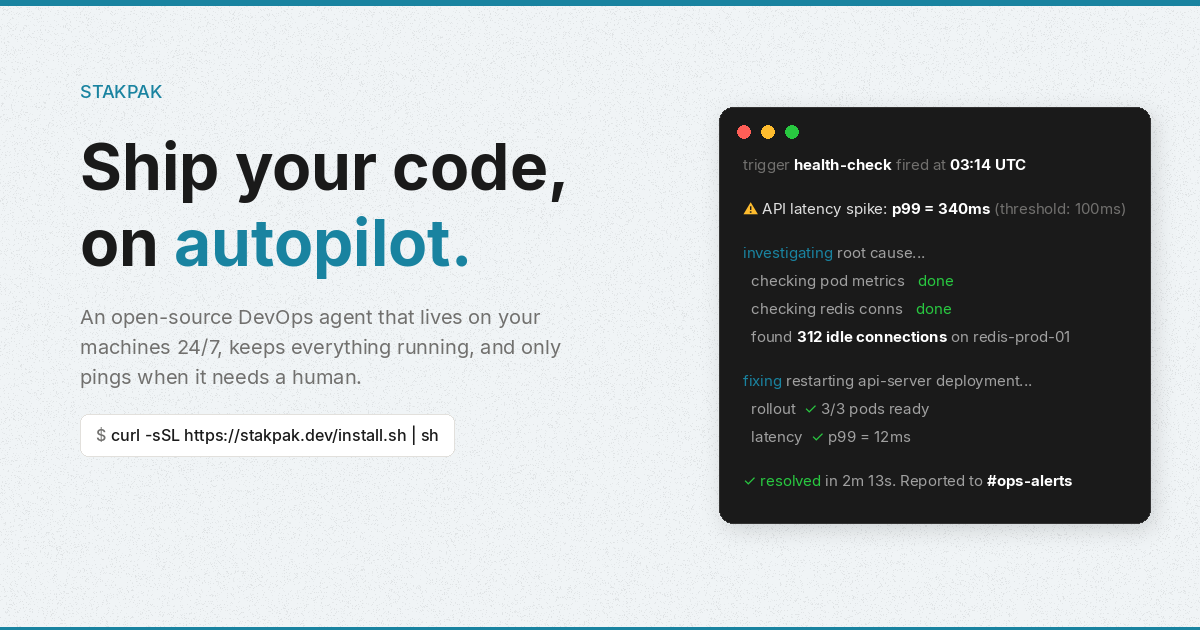
Ship your code, on autopilot. An open source agent that lives on your machines 24/7 and keeps your apps running. 🦀
Details
- License
- MIT license
Explore
- Secret Substitution: LLM works with credentials without ever seeing them
- Warden Guardrails: Network-level policies block destructive operations
- DevOps Playbooks Baked-in: Curated library of DevOps knowledge
- Asynchronous Task Management: Run background commands with tracking and cancellation
- Reversible File Operations: Automatic backups with recovery capabilities
- Adaptive Intelligence: Rule Books and persistent knowledge learning

Setting up with Highlight
This MCP is not yet compatible with Highlight’s one-click setup. However, you can still use it with Highlight by following these steps:
- Download and install Highlight from highlightai.com/download
- Navigate to the plugins tab and select "Add Custom Plugin"
-
Configure the plugin with the settings below
Plugin Name
Stakpak Agent CLICommand (node, npx, python, etc.)Please refer to the README for specific instructions on how to obtain API keys or other required environment variables.
- Enable "Start Automatically" if you want the plugin to start when Highlight launches





From the repository
You can use your own Anthropic or OpenAI API keys, custom OpenAI compatible endpoint, or a Stakpak API key.
Before running autopilot on a remote VM:
- Docker must be installed and accessible to the current user
- 2GB+ RAM is recommended for reliable autopilot + sandbox runs
- Swap is strongly recommended on small Linux hosts
- Linux user services may require linger to survive logout
stakpak up now runs preflight checks before startup, and stakpak autopilot doctor can be used as a deployment-readiness check before first boot:
stakpak autopilot doctor
stakpak up
See also: cli/README.md
- ~/.stakpak/config.toml: profile behavior (model, allowed_tools, auto_approve, system_prompt, max_turns, provider credentials)
- ~/.stakpak/autopilot.toml: runtime wiring (schedules, channels, notification routes, service/server settings)
Use profile = "name" on schedules/channels and keep behavior inside profile definitions. Profiles control how the agent behaves: model, allowed tools, auto-approval, system prompt, max turns, and provider credentials. Notification routes only control where messages are delivered.
Schedule and channel profiles are intentionally separate:
- schedule --profile monitoring: behavior for runs started by that schedule
- channel --profile ops: behavior for sessions started from inbound Slack/Telegram/Discord messages
- notification --target "#ops": where schedule notifications are sent; it does not choose the model or tools
Notification routing uses two words everywhere:
- channel: the transport, such as slack, telegram, or discord
- target: the destination inside that transport, such as Slack #ops or C1234567890
autopilot channel add ... --target sets the default notification route. Schedules inherit it unless you add --notify-target or --notify-channel.
Check the docs
Just run stakpak and follow the instructions which will create a new API key for you.
stakpak
> Brave users may encounter issues with automatic redirects to localhost ports during the API key creation flow. If this happens to you:
>
> Copy your new key from the browser paste it in your terminal
stakpak auth login --api-key $STAKPAK_API_KEY
export STAKPAK_API_KEY=<mykey>
Create ~/.stakpak/config.toml with one of these configurations:
Option 1: Bring Your Own Keys (BYOK) - Use your Anthropic/OpenAI API keys:
[profiles.byok]
provider = "local"
stakpak mcp proxy
stakpak mcp proxy --config-file ~/.stakpak/mcp.toml
External MCP servers are configured in mcp.toml (or mcp.json) and loaded by stakpak mcp proxy.
Config file discovery order:
1. ~/.stakpak/mcp.toml or ~/.stakpak/mcp.json
2. .stakpak/mcp.toml or .stakpak/mcp.json (from current directory)
3. ./mcp.toml or ./mcp.json
Add servers via CLI:
stakpak mcp add internal-tools --command npx --args "-y,@acme/internal-mcp" --env "MCP_API_KEY=<token>" --env "MCP_REGION=us-east-1"
stakpak mcp proxy
Or define servers directly in ~/.stakpak/mcp.toml:
[mcpServers.context7]
command = "npx"
args = ["-y", "@upstash/context7-mcp"]
env = { MCP_API_KEY = "<token>", MCP_REGION = "us-east-1" }
[mcpServers.github]
url = "https://api.githubcopilot.com/mcp"
headers = { Authorization = "Bearer <token>" }
[mcpServers.optional]
command = "npx"
args = ["-y", "some-mcp-server"]
disabled = true
Use disabled = true to keep a server configured without loading it.
1. Install Stakpak (if not already installed)
2. Configure Zed Editor - Add to ~/.config/zed/settings.json:
{
"agent_servers": {
"Stakpak": {
"command": "stakpak",
"args": ["acp"],
"env": {}
}
}
}
3. Start ACP Agent:
stakpak acp
4. Use in Zed - Click Assistant (✨) → + → New stakpak thread
Your deployment procedures and guidelines here...
```
- Local Mode (--tool-mode local) - File operations and command execution only (no API key required)
- Remote Mode (--tool-mode remote) - AI-powered code generation and search tools (API key required)
- Combined Mode (--tool-mode combined) - Both local and remote tools (default, API key required)
Claude Desktop / Cursor
Paste into your MCP client config file to install this server.
{
    "mcpServers": {
        "stakpak agent cli": {
            "cli": {
                "command": "docker",
                "args": [
                    "pull",
                    "ghcr.io/stakpak/agent:latest"
                ]
            }
        }
    }
}McpServers
{
"cli": {
"command": "docker",
"args": [
"pull",
"ghcr.io/stakpak/agent:latest"
]
}
}Agent Client Protocol (ACP)
ACP is a standardized protocol that enables AI agents to integrate directly with code editors like Zed, providing seamless AI-powered development assistance.
What ACP Offers with Stakpak
- Real-time AI Chat - Natural language conversations with context-aware AI assistance
- Live Code Analysis - AI can read, understand, and modify your codebase in real-time
- Tool Execution - AI can run commands, edit files, search code, and perform development tasks
- Session Persistence - Maintains conversation context across editor sessions
- Streaming Responses - Real-time AI responses with live progress updates
- Agent Plans - Visual task breakdown and progress tracking
Installation & Setup
1. Install Stakpak (if not already installed)
2. Configure Zed Editor - Add to ~/.config/zed/settings.json:
{
  "agent_servers": {
    "Stakpak": {
      "command": "stakpak",
      "args": ["acp"],
      "env": {}
    }
  }
}
3. Start ACP Agent:
stakpak acp
4. Use in Zed - Click Assistant (✨) → + → New stakpak thread
Sign in to leave a review
Use Google, GitHub, or an email account so ratings stay tied to real people.
No reviews posted yet.



