Building a Watsonx.ai Chatbot Server with MCP in Python
About
How to create a professional, production‑ready chatbot server powered by IBM Watsonx.ai and exposed via the Model Context Protocol (MCP) Python SDK.
Explore
- Exposes Watsonx.ai LLM inference as an MCP “chat” tool.
- Provides a dynamic greeting resource via @mcp.resource.
- Includes an optional symptom‑assessment prompt template.
- Supports live reloading and Inspector testing with mcp dev.
- Communicates over STDIO transport with any MCP client.
- Defaults to the ibm/granite-13b-instruct-v2 model.

Setting up with Highlight
This MCP is not yet compatible with Highlight’s one-click setup. However, you can still use it with Highlight by following these steps:
- Download and install Highlight from highlightai.com/download
- Navigate to the plugins tab and select "Add Custom Plugin"
-
Configure the plugin with the settings below
Plugin Name
Building a Watsonx.ai Chatbot Server with MCP in PythonCommand (node, npx, python, etc.)Please refer to the README for specific instructions on how to obtain API keys or other required environment variables.
- Enable "Start Automatically" if you want the plugin to start when Highlight launches





From the repository
Before you begin, ensure you have:
- IBM Cloud Watsonx.ai credentials: an API key, service URL, and project ID
- Python 3.9+ (we recommend 3.11+ for performance and typing improvements)
- pip (Python package installer)
- Virtual environment tool (venv or virtualenv)
- Basic command‑line familiarity (Linux/macOS/Windows WSL)
We’ll install the following Python packages:
- python-dotenv – load environment variables from a .env file
- ibm-watsonx-ai – IBM’s official Watsonx.ai SDK
- mcp[cli] – MCP Python SDK & CLI tools
1. Create & activate a virtual environment
python3 -m venv .venv
source .venv/bin/activate # macOS/Linux
.venv\Scripts\activate.bat # Windows
2. Pin and install dependencies
For the requirements.txt
python-dotenv>=0.21.0
ibm-watsonx-ai==1.3.8
mcp[cli]>=1.6.0
pip install --upgrade pip
pip install -r requirements.txt
3. Secure your credentials
- Create a file named .env in the project root.
- Add your Watsonx.ai details:
WATSONX_APIKEY=your-ibm-watsonx-api-key
WATSONX_URL=https://api.your-region.watsonx.ai
PROJECT_ID=your-watsonx-project-id
- Add
.env (and .venv/, __pycache__/) to .gitignore: .env
.venv/
__pycache__/
---
logging.basicConfig(
level=logging.INFO,
format="%(asctime)s [%(levelname)s] %(message)s"
)
First we load our enviroment
source .venv/bin/activate
```
app = Flask(__name__)
app.secret_key = os.environ.get("SECRET_KEY", os.urandom(24))
user_msg = "Hello, how are you today?"
response = await session.call_tool("chat", arguments={"query": user_msg})
print("Bot:", response)
if __name__ == "__main__":
asyncio.run(main())
Run your server in one terminal (python server.py),
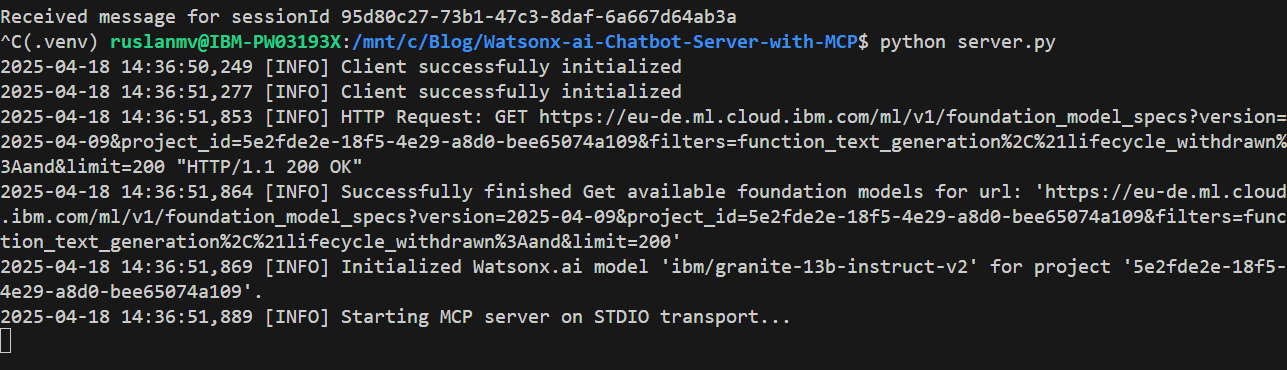
then in another:
python client-tool.py
You should see:
Bot: meta=None content=[TextContent(type='text', text='I am good. Thank you.', annotations=None)] isError=False
```

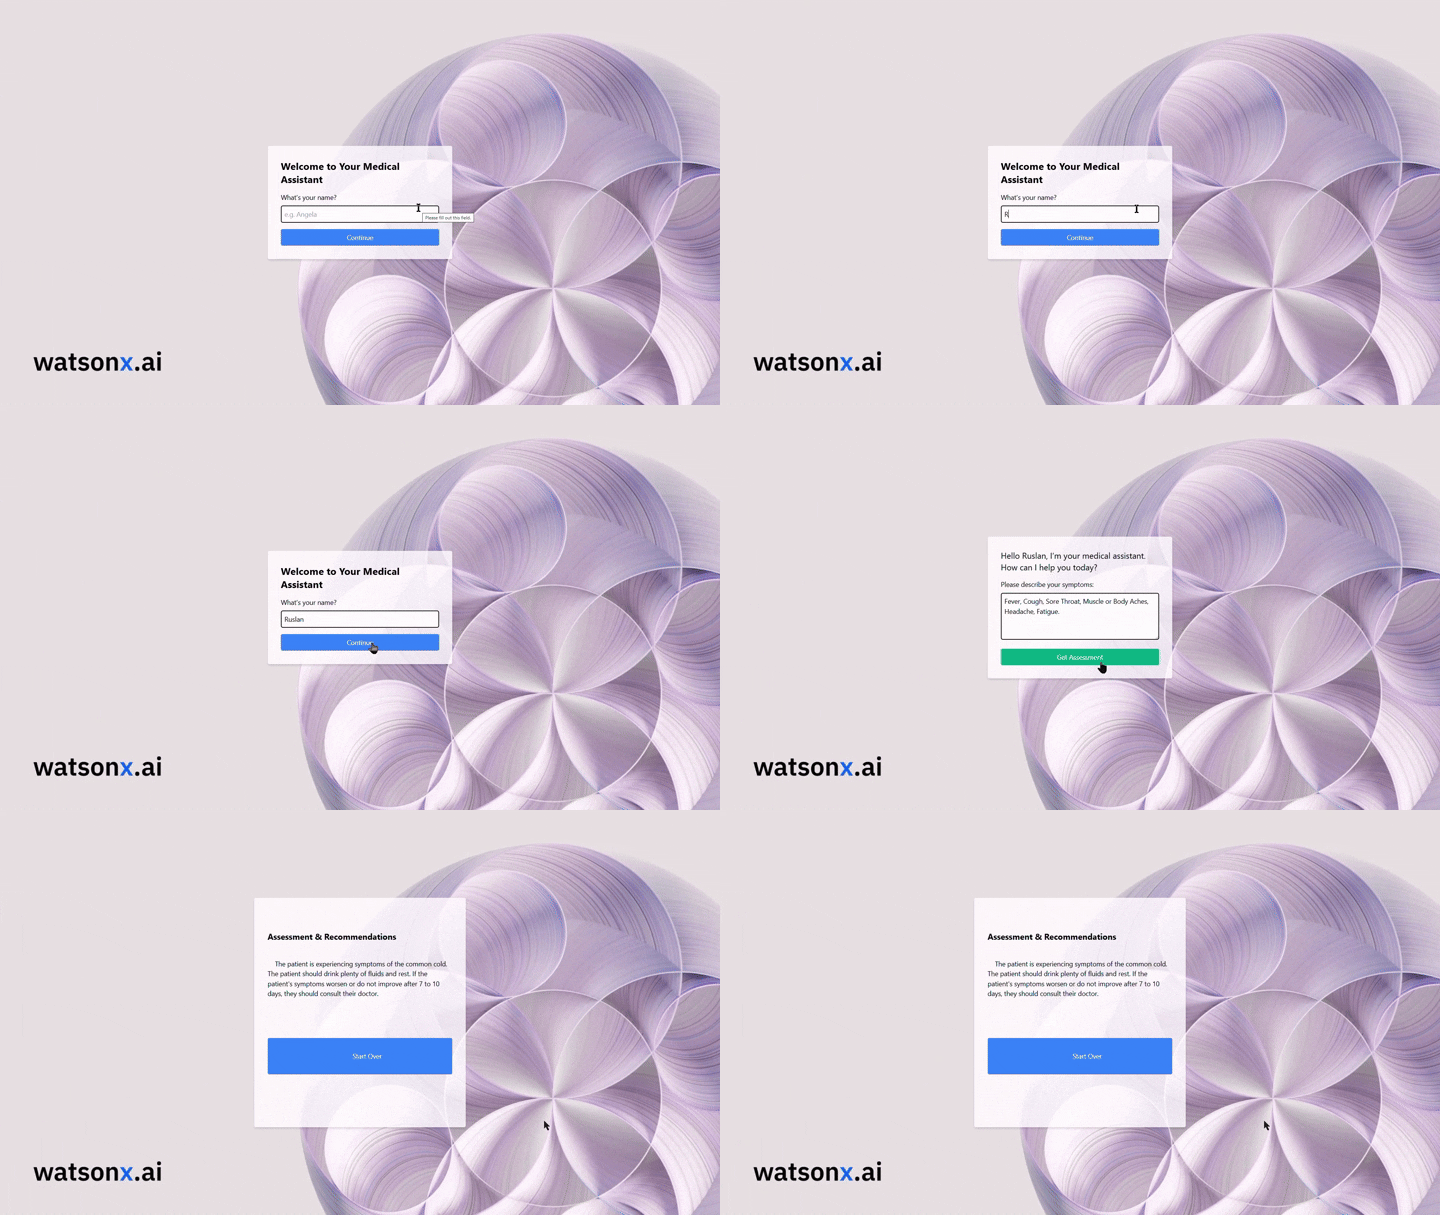
def assess_symptoms(symptoms: str) -> str:
prompt_resp = loop.run_until_complete(
SESSION.get_prompt("assess_symptoms", arguments={"symptoms": symptoms})
)
Claude Desktop / Cursor
Paste into your MCP client config file to install this server.
{
    "mcpServers": {
        "building a watsonx.ai chatbot server with mcp in python": {
            "watsonx-mcp-server": {
                "command": "python3",
                "args": [
                    "-m",
                    "venv",
                    ".venv"
                ]
            }
        }
    }
}McpServers
{
"watsonx-mcp-server": {
"command": "python3",
"args": [
"-m",
"venv",
".venv"
]
}
}
In this in-depth tutorial, you’ll learn how to create a professional, production‑ready chatbot server powered by IBM Watsonx.ai and exposed via the Model Context Protocol (MCP) Python SDK. By the end, you’ll have a reusable MCP service that any MCP‑compatible client (e.g., Claude Desktop, custom Python clients) can invoke as a standardized “chat” tool.
We’ll walk through:
- Setting up your environment step‑by‑step
- Installing dependencies and managing credentials securely
- Writing clean, well‑documented Python code
- Exposing Watsonx.ai inference as an MCP tool
- Running, testing, and troubleshooting your server
- Tips for extending and hardening the service
Introduction
IBM Watsonx.ai offers cutting‑edge large‑language‑model (LLM) inference via IBM Cloud, while the Model Context Protocol (MCP) standardizes how applications expose tools, resources, and prompts to LLM clients. By combining these two, you get:
- Modularity: decouple your chatbot logic from client implementations.
- Reusability: any MCP‑compatible client can call the same “chat” endpoint.
- Rapid iteration: built‑in development inspector with live reloading.
Whether you’re building an internal helpdesk bot or a public chatbot API, this pattern scales and adapts easily.
Prerequisites
Before you begin, ensure you have:
- IBM Cloud Watsonx.ai credentials: an API key, service URL, and project ID
- Python 3.9+ (we recommend 3.11+ for performance and typing improvements)
- pip (Python package installer)
- Virtual environment tool (venv or virtualenv)
- Basic command‑line familiarity (Linux/macOS/Windows WSL)
We’ll install the following Python packages:
- python-dotenv – load environment variables from a .env file
- ibm-watsonx-ai – IBM’s official Watsonx.ai SDK
- mcp[cli] – MCP Python SDK & CLI tools
Project Structure
Create a new directory for your project. Your final tree will look like this:
watsonx-mcp-server/
├── .env
├── .gitignore
├── requirements.txt
└── server.py
- .env — your secret credentials (never commit to source control!)
- .gitignore — ignore .env, __pycache__, .venv
- requirements.txt — pinned dependency list
- server.py — the full MCP chatbot server implementation
Environment Setup
1. Create & activate a virtual environment
   python3 -m venv .venv

   source .venv/bin/activate      # macOS/Linux

   .venv\Scripts\activate.bat     # Windows
2. Pin and install dependencies
For the requirements.txt
python-dotenv>=0.21.0

ibm-watsonx-ai==1.3.8

mcp[cli]>=1.6.0
pip install --upgrade pip
pip install -r requirements.txt
3. Secure your credentials
- Create a file named .env in the project root.
- Add your Watsonx.ai details:
     WATSONX_APIKEY=your-ibm-watsonx-api-key

     WATSONX_URL=https://api.your-region.watsonx.ai

     PROJECT_ID=your-watsonx-project-id
- Add
.env (and .venv/, __pycache__/) to .gitignore: .env
.venv/
__pycache__/
---
Writing the Chatbot Server (server.py)
Open server.py and follow these sections.
Imports & Configuration
```python
Sign in to leave a review
Use Google, GitHub, or an email account so ratings stay tied to real people.
No reviews posted yet.